Adobe Photoshop: Beginner to Pro

Adobe Photoshop: Beginner to Pro
Skills you’ll gain
Create with confidence and ease in this Adobe Photoshop 2024 course. From setting up documents to photo retouching, this is the best online Photoshop course to master your workspace like a professional in no time. Join award-winning designer Eric Vasquez to gain expert, step-by-step guidance on Photoshop’s core features.
In this Adobe Photoshop course, learn how to:
- Create and size documents tailored to your needs
- Navigate your workspace efficiently
- Use paint tools and beautiful custom gradients
- Explore and edit layers
- Master the art of working with brush, pen, and eraser tools
- Skillfully retouch images for a professional finish
Designed for aspiring creatives and experienced professionals, this course equips you with the skills to bring your creative vision to life and produce stunning, high-quality designs.
Syllabus
Download syllabus-
1
Overview of the Toolbar See how to dock and undock the toolbar and general overview of the tools 5m
-
2
Overview of the Panels See how to access and customize the panels based on which tools you use the most 4m
-
3
Overview of the Menus See an overview of the menus and what each one contains 3m
-
4
Workspaces Learn how to set up your own workspaces and save them as a preset 6m
-
5
Useful Tips for Navigating Your Documents Look at the Hand Tool and the Zoom Tool to quickly navigate around your document 3m
-
1
Marquee and Shape Tools Show the different ways you can create basic shapes and fill them with color 7m
-
2
Editing and Transforming Shapes Show how you can resize, reposition, and edit your shapes 2m
-
1
Paint Bucket Tool See the Paint Bucket Tool in action and learn how to fill selections with solid colors 4m
-
2
Gradient Tool Learn about the different types of gradients that can be made using the Gradient Tool 7m
-
3
Custom Gradients Learn how to create, save, and load custom gradients 5m
-
1
How to Bring Photos into Photoshop Before diving into more intermediate tools and techniques, we will learn how to open and import photos 5m
-
2
Raster vs Smart Objects Now that we’ve seen different ways to open or import a photo, let’s talk about the benefits of working with a Raster image vs a Smart Object 4m
-
3
Editing and Transforming Photos Learn some basic transformation tools that you can use to scale, rotate, skew, distort, and warp your images 7m
-
1
Selecting Objects with the Lasso Tool Show the regular Lasso Tool, the Polygonal Lasso Tool, and the Magnetic Lasso Tool 6m
-
2
Selecting Objects with the Magic Wand Show the regular Magic Wand, Object Selection Tool, and Quick Selection Tool 6m
-
1
How Layers Work Overview of how layers work and using the Layer Panel. Important to start here rather than going through all of the tools. 6m
-
2
Grouping Your Layers Looking at how to make Group Folders for your layers. Duplicate the Group Folder, name them both, and then show how you can search for layers based on label color or other variables. 3m
-
1
Adjustment Layers - 1 Overview of the first section of the Adjustment Layers Panel and what they do. (Solid Color - Pattern) 7m
-
2
Adjustment Layers - 2 Overview of the second section of the Adjustment Layers Panel and what they do. (Brightness - Exposure) 8m
-
3
Adjustment Layers - 3 Overview of the third section of the Adjustment Layers Panel and what they do. (Vibrance - Color Lookup) 7m
-
4
Adjustment Layers - 4 Overview of the fourth section of the Adjustment Layers Panel and what they do. (Invert - Selective Color) 5m
-
1
Blending Modes - 1 Overview of the first section of Blending Modes covering ‘Normal’ through ‘Lighter Color’. 5m
-
2
Blending Modes - 2 Overview of the first section of Blending Modes covering ‘Overlay’ through ‘Luminosity’. 5m
-
1
Layer Masks - 1 Understanding the basics of layer masks - regular and inverted. 7m
-
2
Layer Masks - 2 Show how Layer Masks can be used with Adjustment Layers to choose which parts of an image you want to be affected. 7m
-
1
Introduction to the Brush Tool An overview of the Brush Tool - how to change the color, size, flow, and opacity. We will also see how to use the Eyedropper Tool to sample colors from an existing image and learn some handy keyboard shortcuts for some of these functions. 5m
-
2
Brushes Panel - 1 Go through the different types of brushes that are available in Photoshop as well as how to access the Legacy Brushes. 4m
-
3
Brushes Panel - 2 Go through the Brush Settings to show all of the different ways you can customize brushes in Photoshop in order to create a broader range of looks. 6m
-
4
Brushes Panel - 3 Here we will see how to save and import custom brushes so that we can build up our own library of presets, or use brushes that have been downloaded online. 5m
-
1
Adjustment Brush Tool As an alternative to using an Adjustment Layer, here we will see how the Adjustment Brush Tool can be used to make non-destructive adjustments to an image. Instead of continuously adding new Adjustment Layers, this allows us to use the same selection we paint in, but quickly change the type of adjustment we want. 4m
-
2
Pencil Tool The Pencil Tool can be used to sketch or draw small, hard-edged lines. It can also be used with the Symmetry Mode to draw identical lines and shapes at one time. 4m
-
3
Color Replacement Tool Another function of the Brush Tool is the Color Replacement Tool. This tool can be used to change the Hue, Saturation, Color, and Luminosity of a shape or an image. 4m
-
4
Mixer Brush Tool One of the most fun versions of the Brush Tool is the Mixer Brush Tool. Here you will learn how it works and see how to mix and sample colors in a more realistic way. 7m
-
5
History Brush Tool Here we will learn about the History Brush Tool. This is a great tool that can be used to help restore parts of an image to an earlier state. 4m
-
1
Introduction to the Eraser Tool The Eraser Tool can be used to erase all or part of an image. This tool also gives you access to the same modifications and adjustments you can make when using the Brush Tool. 3m
-
2
Background Eraser Tool Learn how to adjust the settings of the Background Eraser Tool to easily remove backgrounds from your images. 7m
-
3
Magic Eraser Tool Use the Magic Eraser Tool to remove blocks of color that are similar in a photograph. 3m
-
1
Introduction to the Pen Tool Here we will cover the basics of how to use the Pen Tool in Photoshop and when you should use the Pen Tool vs the Brush Tool. 7m
-
2
Modifying Points See how to add, remove, or modify anchor points when using any of the Pen Tools. 5m
-
3
Using the Freeform Pen Tool Here we will cover the Freeform Pen Tool and how it can be used to trace a shape or a photo. 4m
-
4
Using the Curvature Pen Tool Here we will cover the Curvature Pen Tool and how it can be used to trace a shape or a photo. 4m
-
1
Using the Pen Tool Learn how to use the Pen Tool with Layer Masks to create selections and Work Paths. 5m
-
2
Using the Brush Tool Learn how to combine the Brush Tool with Layer Masks to create selections. 6m
-
3
Select Similar Colors Use the Select Similar option to select a color, and then similar colors in order to remove a background. 4m
-
4
Color Range Use the Color Range option to remove a background from an image. 4m
-
5
Calculations Use the Calculations method to make complex selections. 6m
-
6
Select and Mask Harness the power of Photoshops built in AI to make selections. Here we will see how to make and modify selections using the Select and Mask features. 4m
-
1
Clone Stamp Tool Learn how to use the Clone Stamp Tool to cover up imperfections in part of an image. 6m
-
2
Healing Brush Tool Learn how to use the Healing Brush Tool to cover up imperfections in part of an image. 5m
-
3
Blur, Sharpen, and Smudge Tool Learn how to use these three important tools to modify parts of a photo. 7m
-
4
Other Methods for Sharpening Here we will look at the Filter Menu and how these Sharpening Tools can also be used in retouching. 5m
-
5
Dodge and Burn - 1 Learn how the Dodge and Burn Tools work to bring out shadows and highlights in parts of a photo once we remove a background. We also cover the pros and cons of using this method. 6m
-
6
Dodge and Burn - 2 Learn the better, non-destructive method for Dodging and Burning your photos to add contrast to your images. 4m
-
7
Photo Retouching Exercise We will wrap up the course with a short retouching exercise where we apply some of the techniques we have learned throughout the course. We will retouch the photo and add a few Adjustment Layers with masks where we can use the Brush Tool to hide or reveal certain parts of the adjustments. 8m
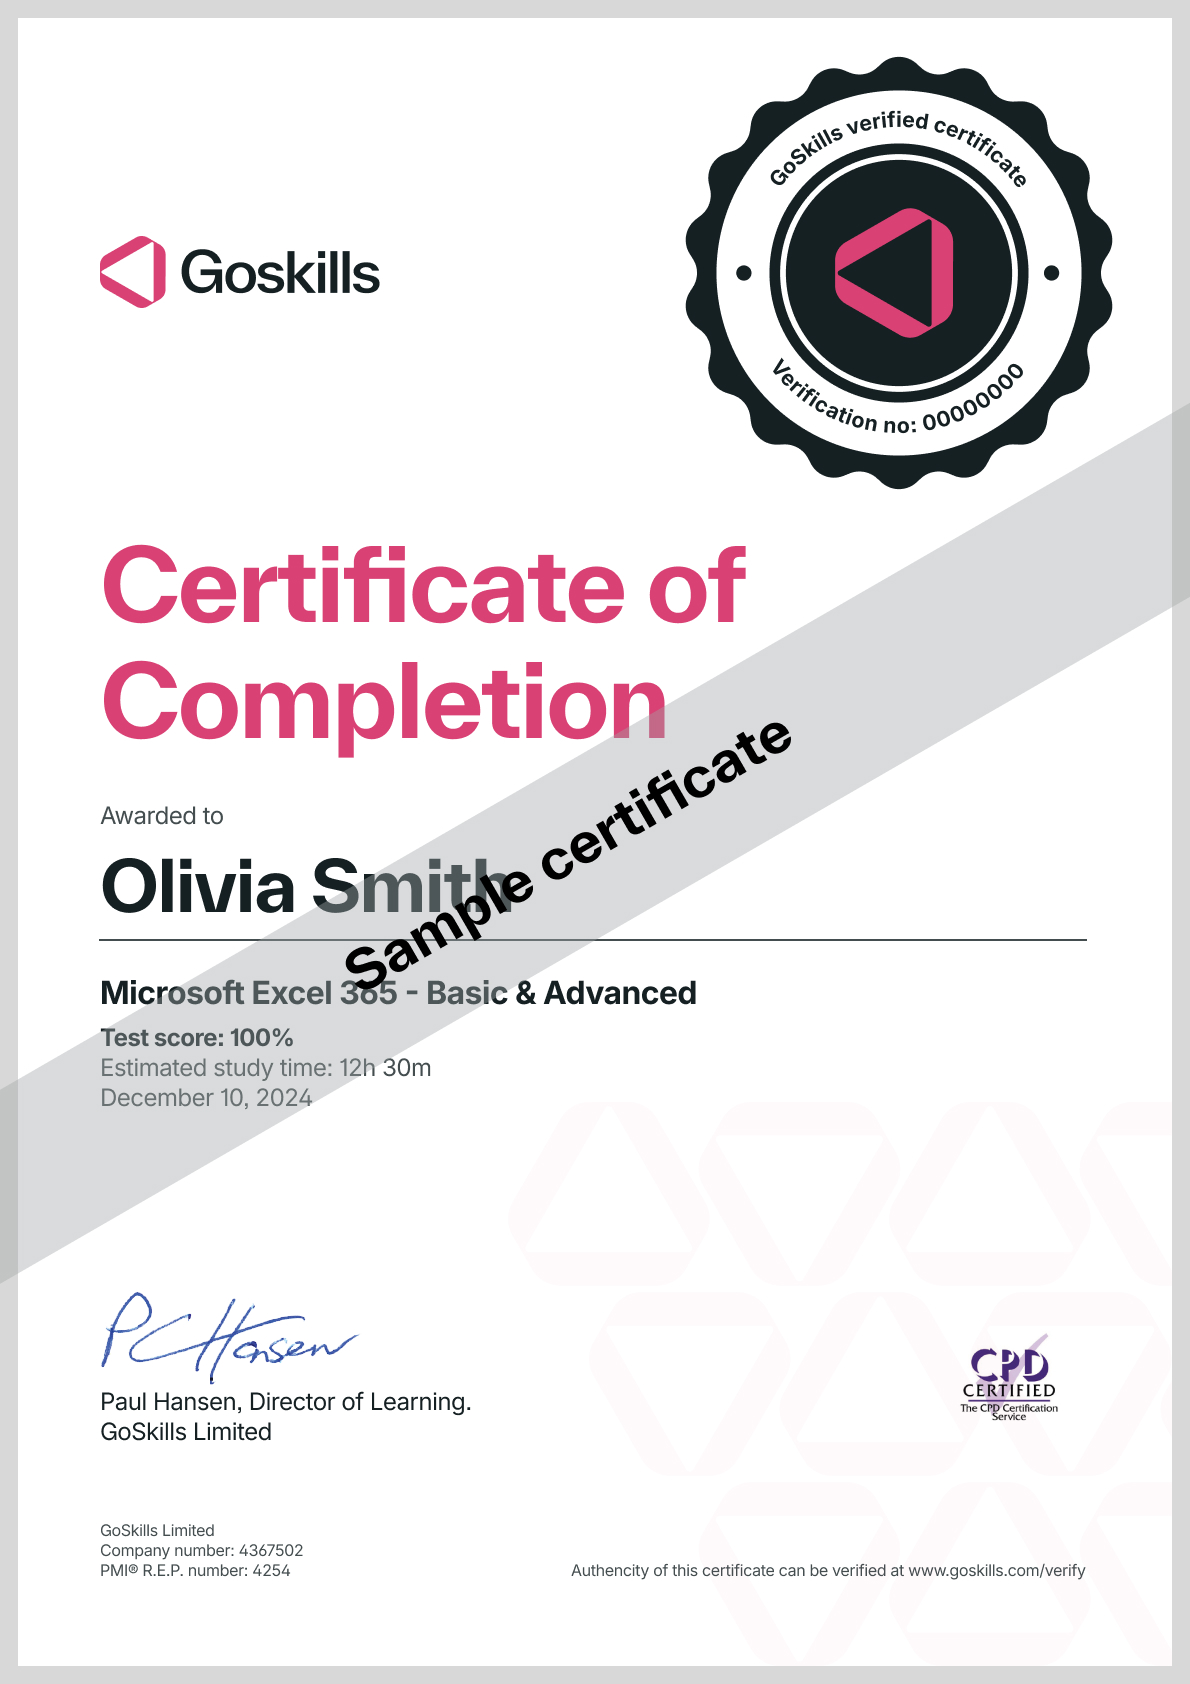
Certificate
Certificate of Completion
Awarded upon successful completion of the course.
Instructor
Eric Vasquez
Eric is an Art Director, designer and multidisciplinary artist who has worked for a variety of high profile clients including Nickelodeon, Oxygen, World Wrestling Entertainment, Spike TV, and Major League Baseball.
Eric has been in two art exhibits including The Art of Fashion at Webster Hall and he is a member of two international art collectives - Cosmosys and the Luminarium. He is an active member of the online design community with many of his designs being featured on popular design blogs, and has also had his work published in Advanced Photoshop Magazine.

Eric Vasquez
Art Director and Designer
Accreditations
Link to awards

How GoSkills helped Chris
I got the promotion largely because of the skills I could develop, thanks to the GoSkills courses I took. I set aside at least 30 minutes daily to invest in myself and my professional growth. Seeing how much this has helped me become a more efficient employee is a big motivation.