Microsoft Word 365 - Advanced
Microsoft Word 365 - Advanced
Ready to upgrade your Microsoft Word 365 skills, or simply need a refresher? In 22 engaging lessons, this online course will help you learn and master advanced Word tools, so you can efficiently create organized and easy-to-navigate documents.
By the end of this course, you’ll be able to:
- Create custom formatting styles.
- Use Track Changes to monitor edits to your document.
- Craft personalized letters to multiple recipients using Mail Merge.
- Generate and update an automated Table of Contents.
- Insert academic citations from within the References tab.
Whether you use Microsoft Word 365 for work, study, or leisure, these tutorials will help you transform that blank page into a professional-looking document!
If you’re new to Word, try our Basic course. If you'd like to conquer it all at once, the Microsoft Word 365 Basic and Advanced course will help you quickly meet your goals.
Once enrolled, our friendly support team and tutors are here to help with any course-related inquiries.
Syllabus
Download syllabus-
1
Create and Apply a Style Learn to format text and save the style inside the Style Gallery for future use. 3m
-
2
Rename, Modify, and Remove Styles After mastering styles, keep the Style Gallery tidy by editing or removing styles. 5m
-
3
Reveal Formatting Learn to use the Reveal Formatting pane to look beyond surface formatting. 4m
-
4
Selection Tool and Format Pane Learn to use this tool when working with graphics and styles. 5m
-
1
Envelopes and Labels Learn how to quickly produce a printed envelope or label for postal mail. 4m
-
2
Mail Merge to Labels Auto-populate a sheet of labels with text pulled from a list. 6m
-
3
Mail Merge to Envelopes Merge mailing lists to print directly onto envelopes. 4m
-
4
Mail Merge to Form Letters Auto-populate a form letter with various fields pulled from a list. 5m
-
5
Mail Merge to Emails Merge Outlook Contact lists into emails so each recipient gets a personal email. 4m
-
6
Mail Merge Tips from Experience Learn tips for label margins and ensure your labels print perfectly. 2m
-
1
Proofing Learn how to spellcheck, find a better word, or count the total words in a document. 4m
-
2
Language and Translation Translate an existing document or set the Word program to use a different language. 3m
-
3
Comments Learn to place notes in the margins of a document and control those notes. 3m
-
4
Track Changes Track changes will show which person made which changes in a document. 5m
-
5
Compare Documents Comparing documents takes two versions of a document and compares for changes. 4m
Certificate
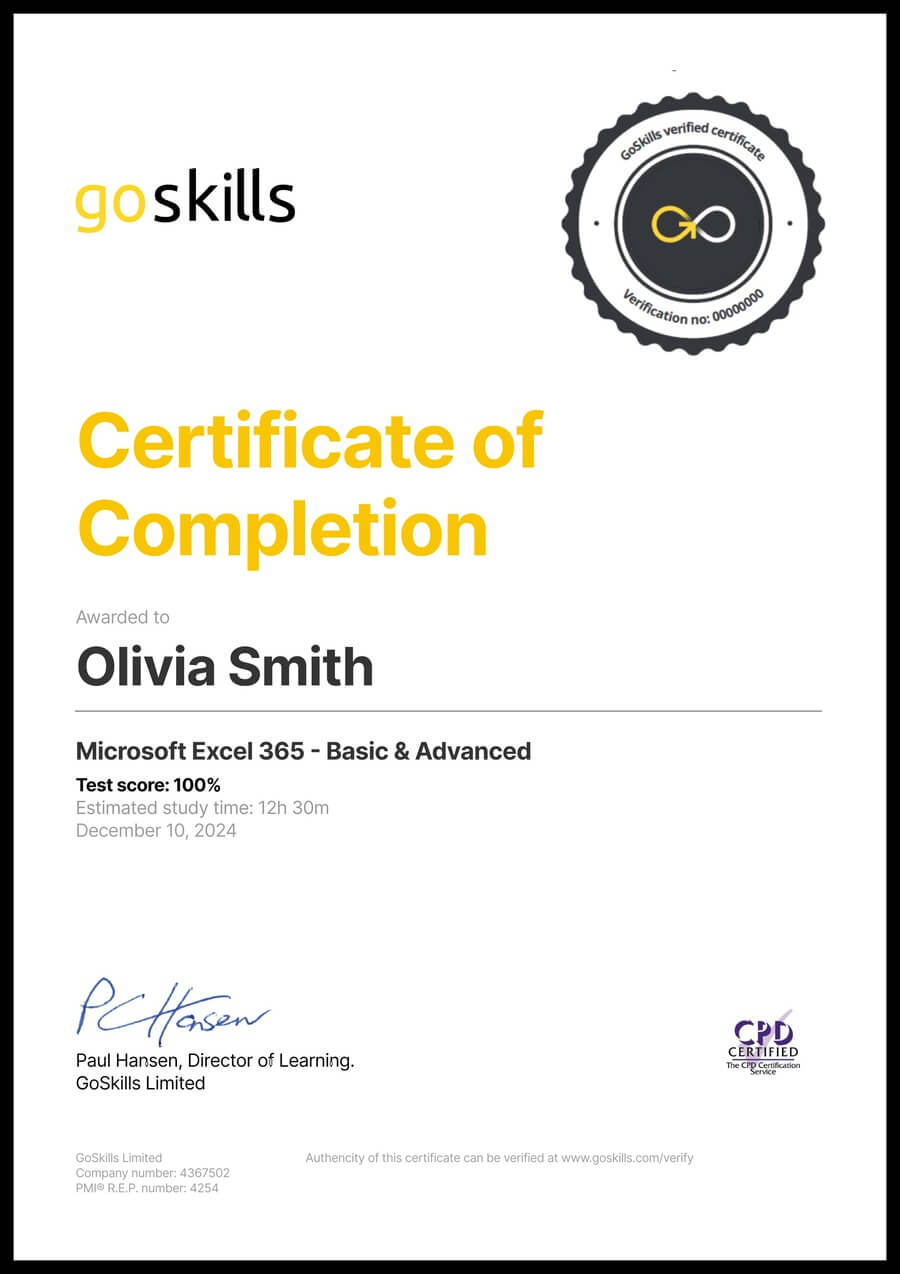
Certificate of Completion
Awarded upon successful completion of the course.

Instructor
Andy Lanning
Andy has 20 years of experience in the computer industry and has been training individuals and groups since 1996. As a self professed computer 'nerd', Andy believes in using computer programs like Word to maximize efficiency and solve common workflow issues.
Andy is a Certified Microsoft Office Specialist. She is proficient in Microsoft programs including Word, Excel, Outlook, PowerPoint, and Publisher.

Andy Lanning
Certified MS Office Specialist
Accreditations
Link to awardsHow GoSkills helped Chris
I got the promotion largely because of the skills I could develop, thanks to the GoSkills courses I took. I set aside at least 30 minutes daily to invest in myself and my professional growth. Seeing how much this has helped me become a more efficient employee is a big motivation.


