Microsoft Word 365 - Basic
Microsoft Word 365 - Basic
Skills you’ll gain
This Microsoft Word 365 Basic course is designed to give you a solid foundation in the basics of Word in the Microsoft 365 environment, whether you’re new to the program or just need a refresher.
By the end of the course, you’ll be able to:
- Effortlessly navigate the Microsoft Word 365 interface.
- Customize text formatting for personal and professional use.
- Customize the layout of a document.
- Use a range of file-saving and collaboration options.
All video tutorials are recorded in Microsoft 365, and designed to help you use Microsoft Word 365 to best suit your needs.
Looking for something more advanced? Try our Advanced course! Or if you'd like to master it all at once, our Microsoft Word 365 Basic and Advanced course is the perfect solution. Once enrolled, our friendly support team and tutors are here to help with any course-related inquiries.
Syllabus
Download syllabus-
1
Styles Gallery Learn how and why to apply predesigned Styles to text. 3m
-
2
Format Text with Fonts and Colors Learn how to apply bold, italic, underline and Drop Caps styles to text. 4m
-
3
Format Painter Quickly copy and paste “formats” with this amazing button. 3m
-
4
Practice with the FONT Group Learn to apply various font styles and why they are used in professional documents. 4m
-
5
Basic Paragraph Formats Paragraph format and alignment are important for proper document layout. 3m
-
6
Fun and Functional Paragraph Formats Apply background colors or borders to paragraphs. 3m
-
7
Bullets and Numbering Learn how to apply and control bullets and numbering. 3m
-
8
Indents Learn how and when to use specific indent types. 4m
-
9
Line Spacing Learn why you would want more space between the lines within paragraphs and how to apply the space. 3m
-
10
The Find/Replace Function Learn to quickly find a word or format and replace it with an alternative. 3m
-
1
File, New Explore the readily available document templates rather than creating a particular document from scratch. 3m
-
2
File, Recent Learn to quickly preserve files and easily access your most used documents. 3m
-
3
File, Share View the various ways to collaborate with others on a document. 3m
-
4
File, Info and Security Considerations Password Protect a file or Recover an unsaved version. 4m
-
1
Document Views Learn how and why to use the different available document views. 3m
-
2
Navigation Pane Learn how the Navigation Pane assists with document management. 3m
-
3
Show and Zoom Controls How to add the Navigation pane and quickly zoom in and out of the document. 4m
-
4
Use Multiple Windows Learn about using multiple windows to view the same or various documents side-by-side. 4m
-
1
Inserting Page Breaks and Blank Pages Quickly force a new page at the location you specify and/or add a blank page as well. 3m
-
2
Add a Cover Page Pre-designed cover pages add a professional look to your report. 3m
-
3
Creating Tables Tables provide a structure of columns and rows to help the user line up data, similar to a spreadsheet layout, but within a Word document. 5m
-
4
Inserting Pictures and Clip Art Learn how to apply and control picture sizes and placement. 3m
-
5
Online Pics and 3D Models How to find Online Pictures and add 3D Models as well as animated pictures. 3m
-
6
Basic Use of Shapes Learn to move and color shapes to draw attention to an area. 4m
-
7
Screenshots Learn how to capture a picture of your screen, modify it, and use it in a document. 4m
-
8
Headers and Footers Learn how to add Headers and Footers to a document. 4m
-
9
Page Numbers and File Location Notes Learn how to apply and control page numbers and insert file notes. 3m
-
10
Word Art Learn this creative text format often found on flyers, and a clever “rubber stamp” to use on documents. 4m
-
11
Symbols Symbols are a necessary and interesting toolset if using creative accents, foreign characters, or displaying mathematical formulas. 3m
-
1
Margins Learn how to set margins to standard or custom settings. 3m
-
2
Paper Orientation and Size Learn how to change paper size and orientation depending on the document type. 3m
-
3
Using Columns Learn to divide text into long columns to make the best use of available space. 3m
-
4
Paragraph Spacing Learn how to control spaces between paragraphs all at one time and adjust spacing as needed. 3m
-
5
Printing Explore the various options within the Print dialogue box. 3m
Certificate
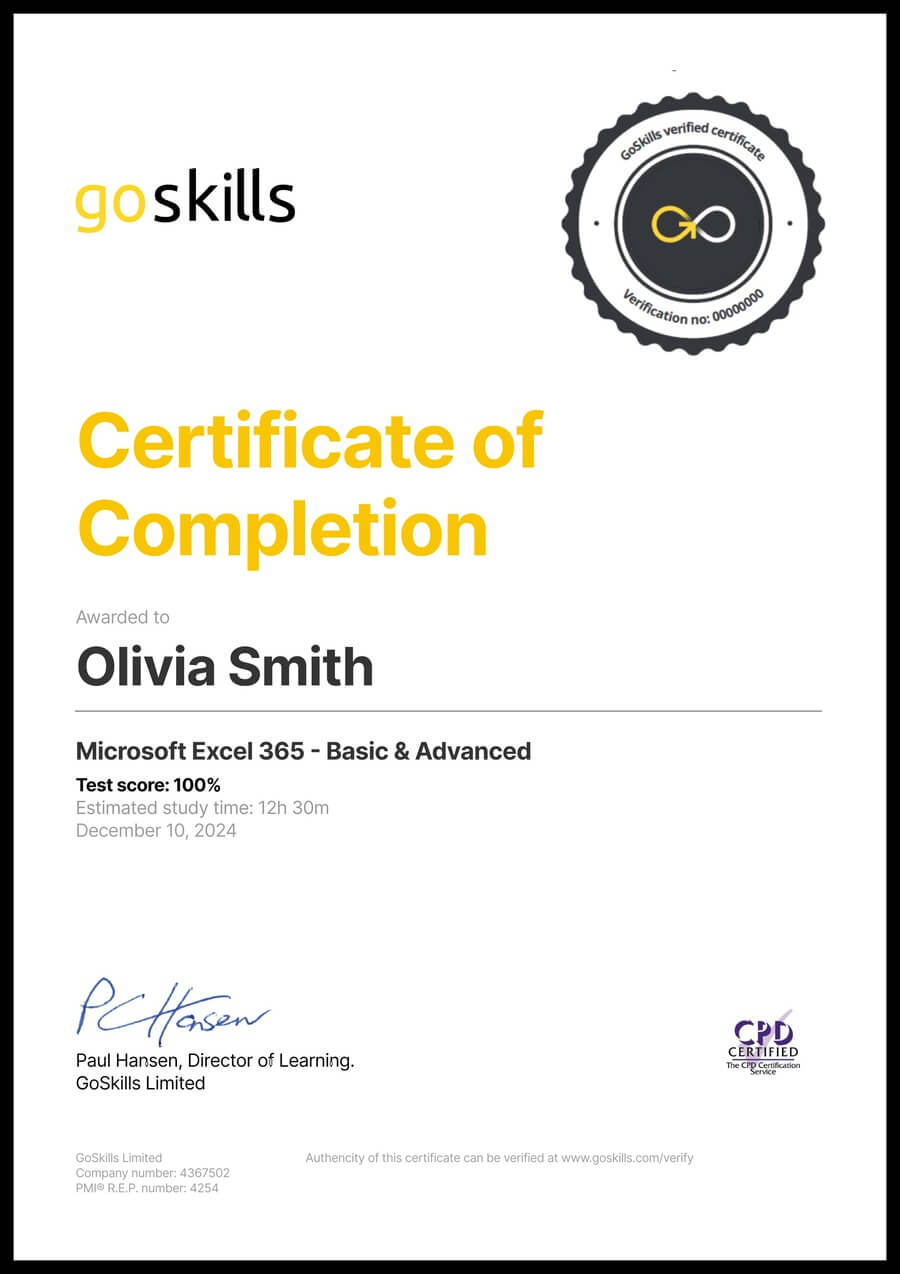
Certificate of Completion
Awarded upon successful completion of the course.

Instructor
Andy Lanning
Andy has 20 years of experience in the computer industry and has been training individuals and groups since 1996. As a self professed computer 'nerd', Andy believes in using computer programs like Word to maximize efficiency and solve common workflow issues.
Andy is a Certified Microsoft Office Specialist. She is proficient in Microsoft programs including Word, Excel, Outlook, PowerPoint, and Publisher.

Andy Lanning
Certified MS Office Specialist
Accreditations
Link to awardsHow GoSkills helped Chris
I got the promotion largely because of the skills I could develop, thanks to the GoSkills courses I took. I set aside at least 30 minutes daily to invest in myself and my professional growth. Seeing how much this has helped me become a more efficient employee is a big motivation.


